Flex Travel Case
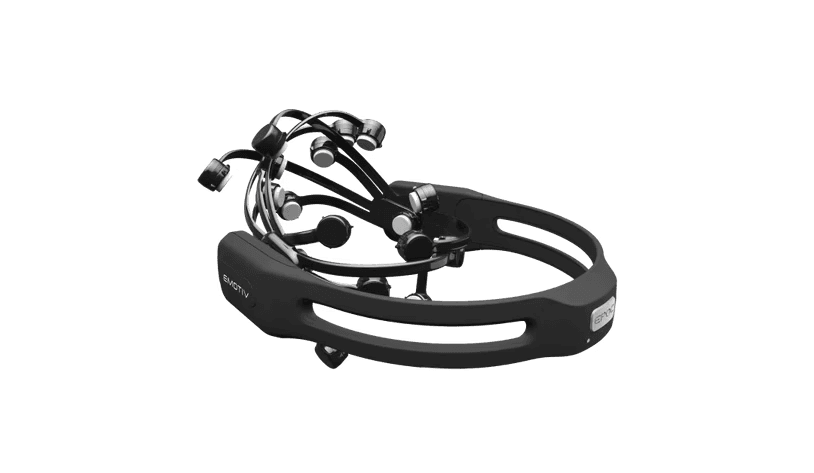
Flex Headset
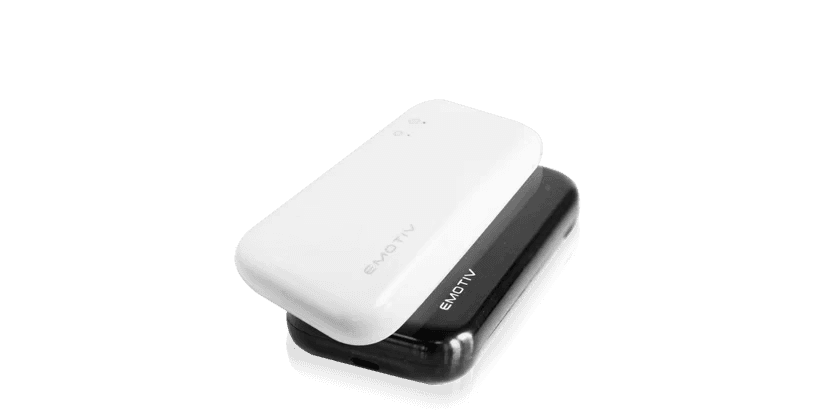
Flex Controller
USB-C Charging Cable
Cables – Extension lead
Bluetooth Dongle
USB-A to C adaptor
Two sensors types
To get started visit

www.emotiv.com/setup
Quick Start Guide
50x Pins
1x Tool
2x Wire wrap
80x Felts Standard Length
20x Felts Long Length
34x Sensor Silicon Skirt
STEP 1
Charging the Flex Controller
The Flex controller is charged and tested before shipping — so you can start using it straight away.
To charge your Flex controller, plug the USB charging cable into the USB port located at the bottom of the controller. Then, connect the other end of the USB charging cable to a power outlet or PC/Mac.


STEP 2
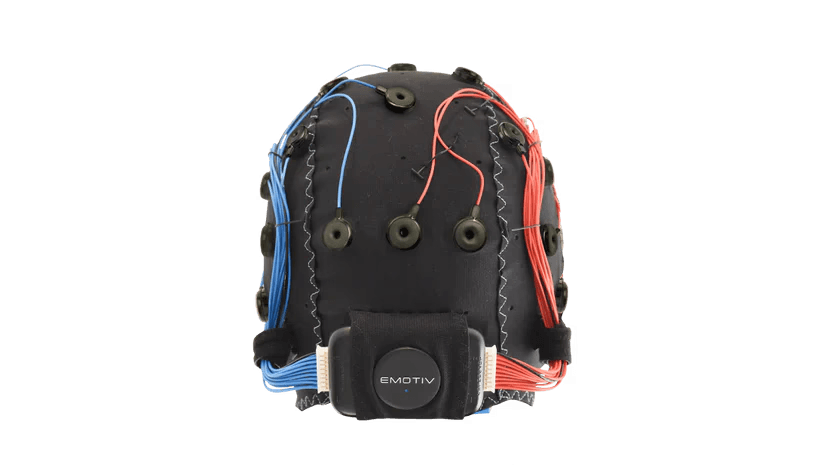
Inserting the Sensors into the Flex Cap
Find the hole that you would like to position your sensor on the Flex Cap. Stretch the material so that it’s taut, then allow the sensor body to pass through the hole from the outside of the Flex Cap, and then let the material go so that it goes slack and fits in the groove. Repeat this step for each sensor placement.
STEP 3
Positioning the Flex Controller on the Flex Cap
There are two places on the Flex Cap where the Flex controller can be positioned – at the top (Cz) or at the rear (lz) on the Flex Cap.
If you’re doing a sleep study or your participant needs a headrest (e.g., they use a wheelchair), we recommend that you position Flex at the top (Cz) of the Flex Cap.
Securing Flex Controller in Place
With the Emotiv logo facing outwards and the on/off switch and USB port at the bottom edge, feed the controller into the pouch and then stretch the large hole in the fabric around the groove of the circular part of the control box. Doing this will secure the control box in place and give you access to the power button and USB port.


STEP 4
Tidying the Sensor Wires
Once you’ve inserted all of the sensors into the Flex Cap, we recommend using the tagger pins and tagger tool to tidy up the wires by ‘sewing’ them into place. Another option is to place another Flex Cap over the top of the wires to keep them secure. Securing the wires in place will reduce any movement artifacts being picked up by the sensors.
STEP 5
Connecting the Wires to Flex Controller
Insert the white connector, attached to all the red wires, into the port on the right-hand side of Flex.
Repeat this process for the blue wires on the left-hand side of Flex.

STEP 6
Turning the Flex Controller On
To turn your Flex controller on, switch the power switch to the right. The battery power indicator below the logo will illuminate, indicating the battery charge status.
STEP 7
Connecting the Flex Controller to Your Computer
Plug the USB receiver dongle into your computer. One LED will light up on the USB receiver dongle.
Next, switch your Flex controller on. The LED next to the power button will turn blue. The LED on the dongle will start flashing — indicating connection/data transmission.

The following steps are specifically for the Flex Saline setup. If you are using Flex Gel, you can skip ahead to the Gel Configuration.

STEP 8
Hydrating the Saline Sensor Felts
To hydrate the sensor felts you’ll need:
a glass; and
saline solution.
Then follow these steps:
Place the sensor felts into a glass and then soak them with saline solution.
When they are fully hydrated, squeeze each one gently to remove any excess fluid.
Fit the hydrated sensor felts into the sensor locations on the Flex Cap.
STEP 9
Fitting the Flex Cap to Your Participant’s Head
Fitting the Flex Cap to your head is similar to a swimming cap. Start by placing the front of the Flex Cap over your participant’s forehead, then stretch it to the back of their head, pull it down and insert their ears through the ear holes.
When fitting the Flex Cap, always make sure that the rear pocket is at the back of your participant’s head.
Always ensure that position Cz is in the middle of the Flex Cap and the sensors are symmetrical. Positions Fp1 / Fp2 on the Flex Cap should be directly above the eyebrows.


STEP 10
Setting Up the Saline Sensors
Saline sensors can dry out while you’re fitting the Flex Cap to your participant’s head. This is due to absorption from your participant’s hair and scalp. To ensure the best contact quality during your recording session, please follow these steps.
When the Flex Cap is fitted to your participant’s head, and you’re ready to start recording, you must do the following:
Open the contact quality map in PRO and ensure that your Flex is connected.
The contact quality map will show you the contact quality for each sensor. Each sensor should show as green on the contact quality map. Starting with the references DRL/CMS, top-up sensors with saline solution (as required) until each sensor turns green. The contact quality should be 100% and green on all channels.
If the sensor felts dry out during your recording session or you have a long recording session, you can re-hydrate them through the hole at the top of the sensor.
When you see the contact quality change from green to orange in PRO, it’s time to top-up the saline solution.
The following steps are specifically for the Flex Saline setup. If you are using Flex Gel, you can skip ahead to the Gel Configuration.

STEP 8
Setting up the gel sensors
To hydrate the gel sensors, you’ll need:
isopropyl alcohol;
cotton buds;
abrasive gel (optional);
electrolyte gel; and
a syringe with a blunt needle.
When the Flex Cap is fitted to your participant’s head, and you’re ready to start recording, you must do the following:
Open the contact quality map in EmotivPRO and ensure your EPOC Flex is connected.
To prepare your participant’s skin for the gel sensors and to minimize skin contact impedance, use a cotton bud to move your participant’s hair away from the sensor opening so it can make good contact with the scalp.
Clean the skin below the sensor opening with a degreasing agent, such as isopropyl alcohol. To do this, dip a cotton bud into isopropyl alcohol, then degrease the skin by rotating the cotton bud inside the sensor opening.
This is an optional step but doing it will improve contact quality. Dip another cotton bud into the abrasive gel, then gently rotate on the skin so that it abrades the skin in that sensor location. Take care not to rub the skin too hard.
Once you’ve cleaned and abraded your participant’s skin, you then need to fill a syringe with electrolyte gel. When you’ve filled the syringe with electrolyte gel, insert the syringe tip into the sensor opening and fill the gap between the scalp and sensor completely with electrolyte gel. Start by filling the CMS and DRL sensors with electrolyte gel first. You should see the contact quality map in EmotivPRO turn green for these sensors.
Repeat steps 2-5 for each sensor placement. Once you’ve prepared each sensor, check the contact quality in EmotivPRO. The contact quality should be 100% and green on all channels.